

Welcome back!
I have something special for you today!
Before we get to the main course, I would like to mention a podcast episode first: Modern Wisdom episode #696. I only began to listen to this episode after I completed my post last week. The content is directly related to my post last week. If you want another, professional, perspective on diet and exercise, I recommend you listen to that episode. The link is in the citation at the bottom of this post.
In the spirit of the holiday season, I am sharing a sweet potato pie recipe with you today:
Crust Recipe (1 – 9in):
210g – 1 ½ cups – Unbleached, All-purpose Flour
100g – 7 tbsp – Salted Plant Butter
6g – ½ tbsp – White Sugar
4g – ½ tsp – Iodized Salt
90g – 6 tbsp – Ice Water
Filling Recipe:
600g – 2 ¼ cups – Baked Sweet Potato
50g – ¼ cup – Full Fat Coconut Milk
50g – 3 ½ tbsp – Brown Sugar
4g – ½ tsp – Iodized Salt
1 tsp – Vanilla Extract
1 tsp – Pie Spice (Coriander, Cinnamon, Nutmeg, and Allspice)
80g – ⅓ cup – Caramel
80g Caramel Recipe:
50 g – 3 ½ tbsp – White Sugar
50g – ¼ cup – Full Fat Coconut Milk
Oven:
350F – 60-70 minutes
I had this recipe from last year, but I improved it for you today. A previous coworker, and friend, said that she did not use egg in her pies. This comment gave me confidence that I could make a very simple, very tasty, vegan pie. I will start off by listing potential substitutions. If you are not vegan, milk butter can be substituted exactly the same as plant butter. Although the coconut flavor is at best mild in the final pie, if coconut isn’t your thing, heavy cream can be substituted. Also, if you want to further simplify this recipe, the caramel can be substituted by doubling the brown sugar and the coconut milk and ignoring the caramel. I enjoy making caramel, but it is not necessary. While I did not do this, you could finish the pie with whipped cream and a caramel drizzle. I will save this idea for next time. If you eat eggs, I would add an egg or two to the recipe to bind the filling as it cooks. This is mostly a textural change. The recipe is already a great consistency, so do not worry. Try the egg, and although I know that it will be amazing, let me know how it turns out!
I started by baking the potatoes. My recipe requires 600g of sweet potato. I cooked four medium sized potatoes, around 250g each. I used two and one half of the sweet potatoes, so I would recommend that you cook at least three sweet potatoes to be on the safe side.
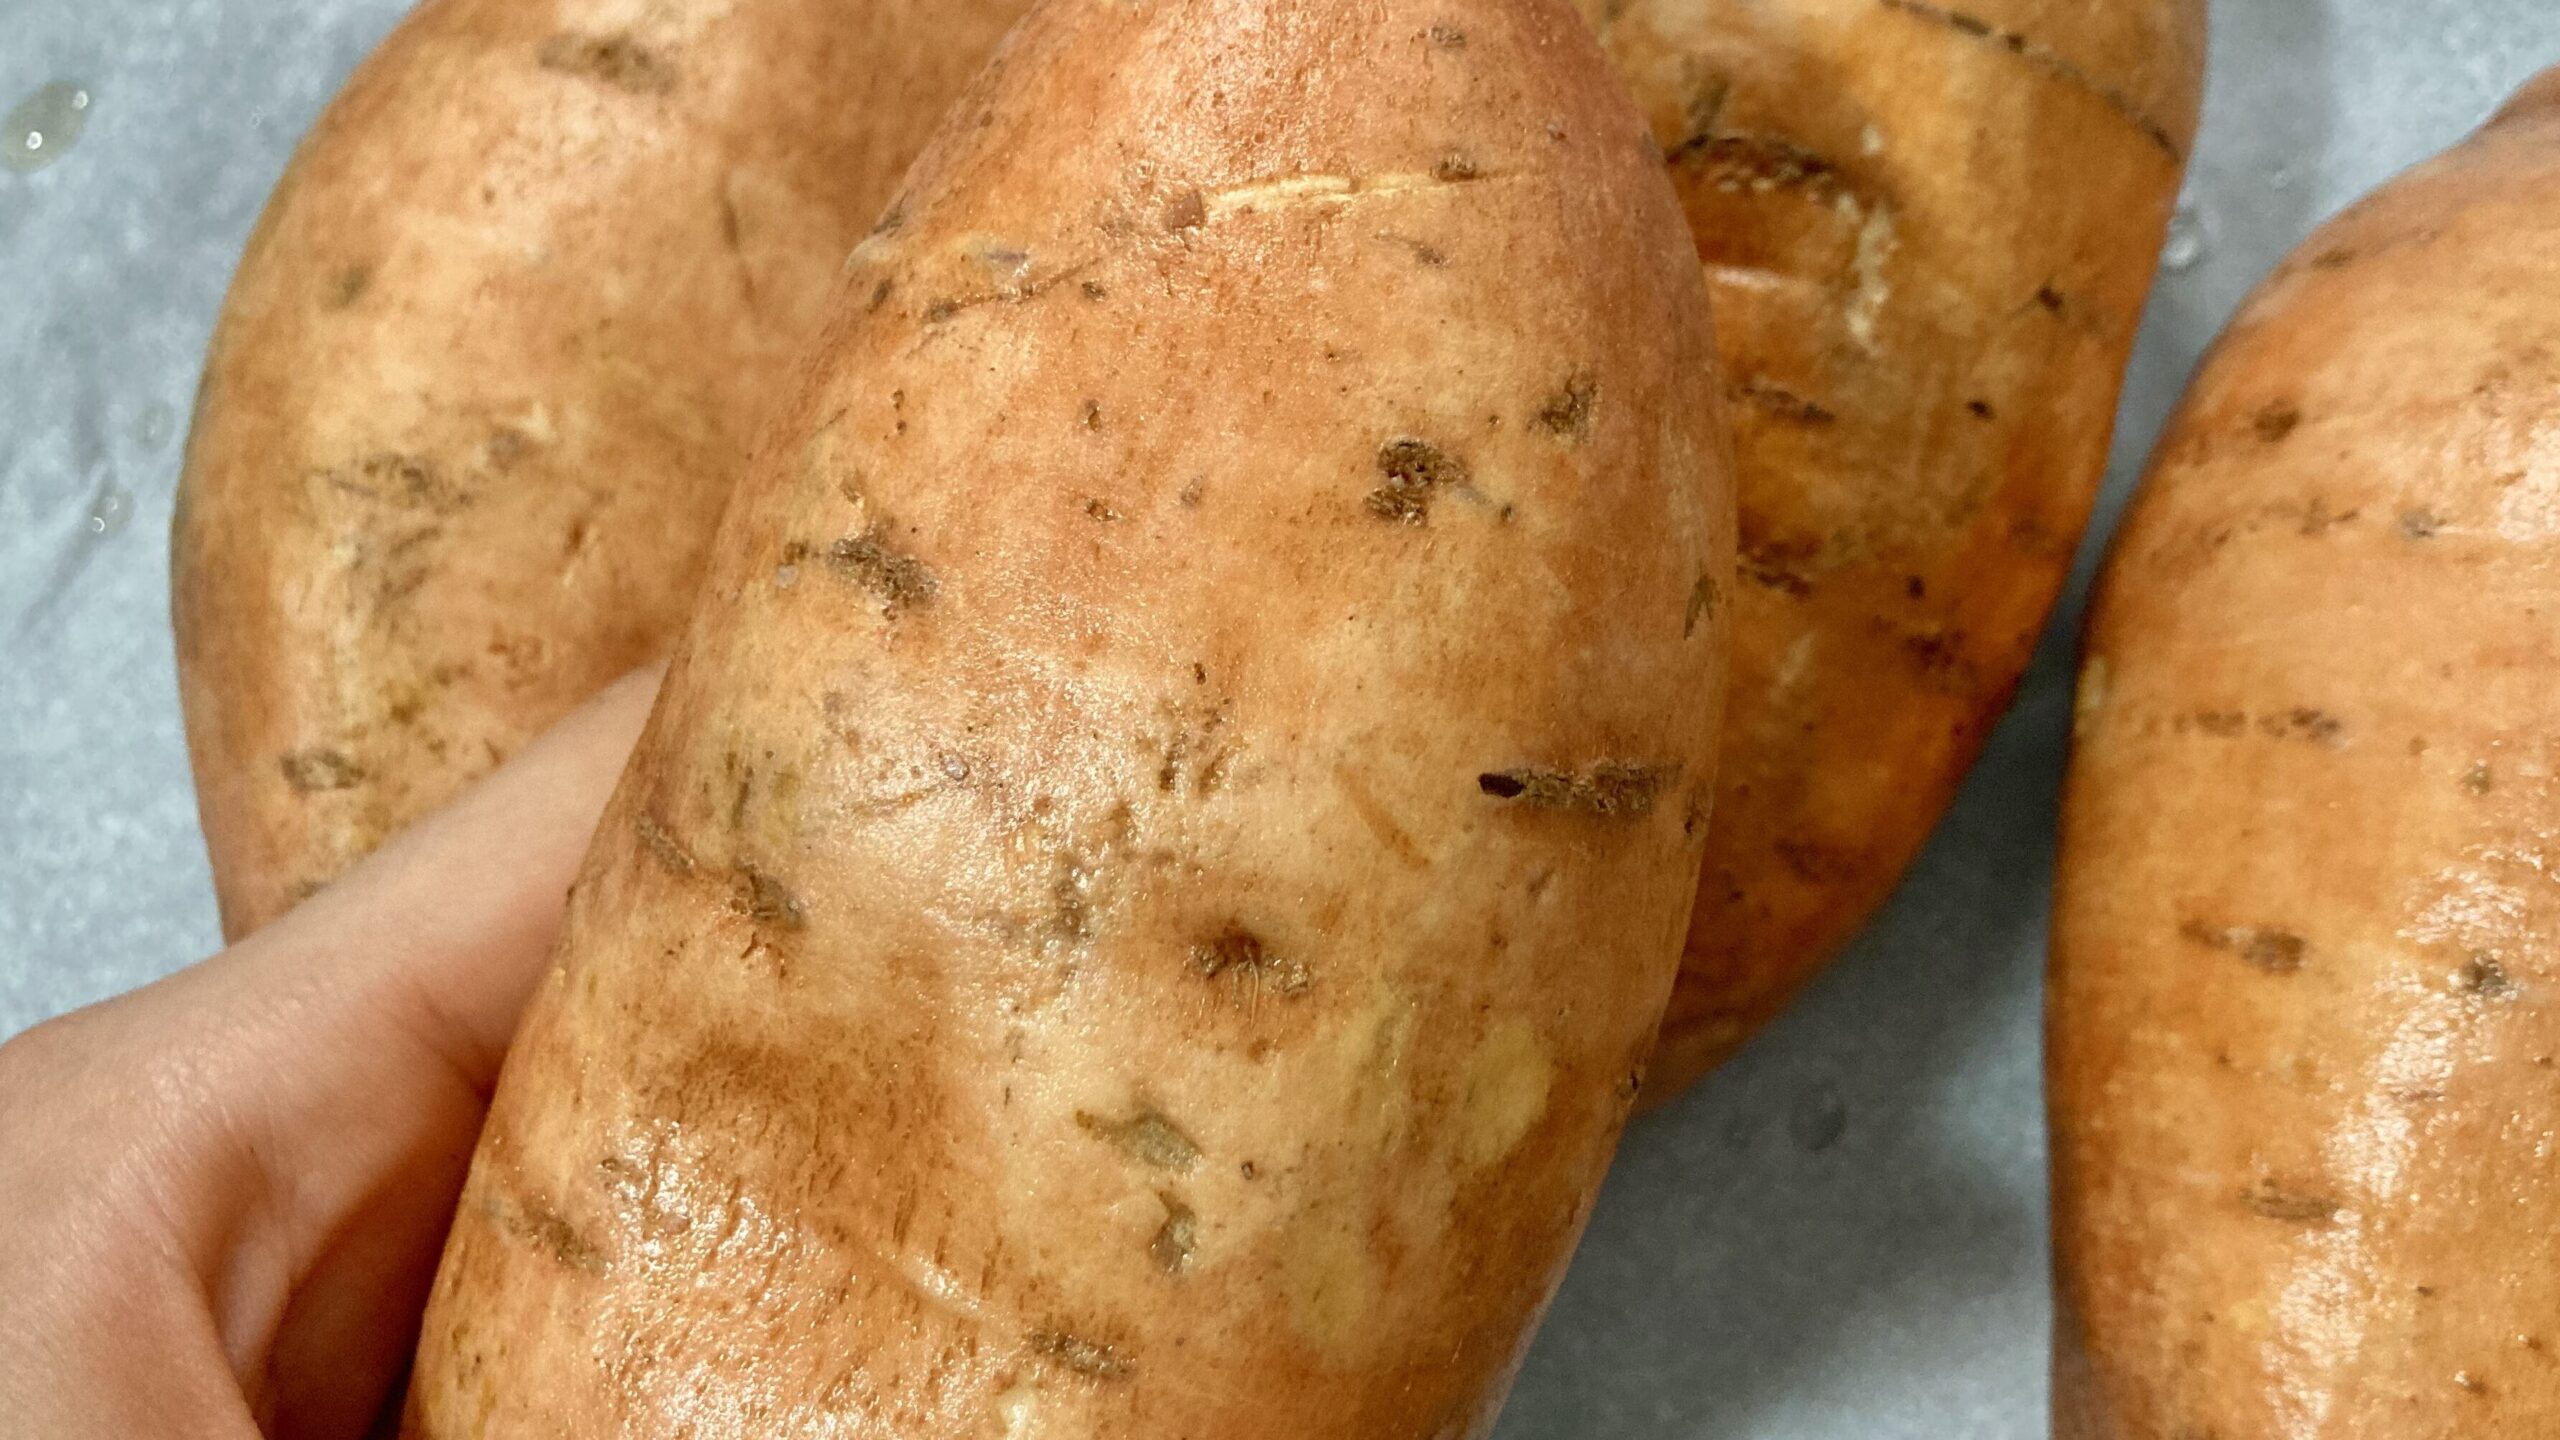
I rinsed the potatoes, put them on a pan with parchment paper and put them in the oven. I cooked the potatoes for about 80 minutes at 400F. Cook until tender. I cut them in half with a fork and let them cool while I prepared the crust.
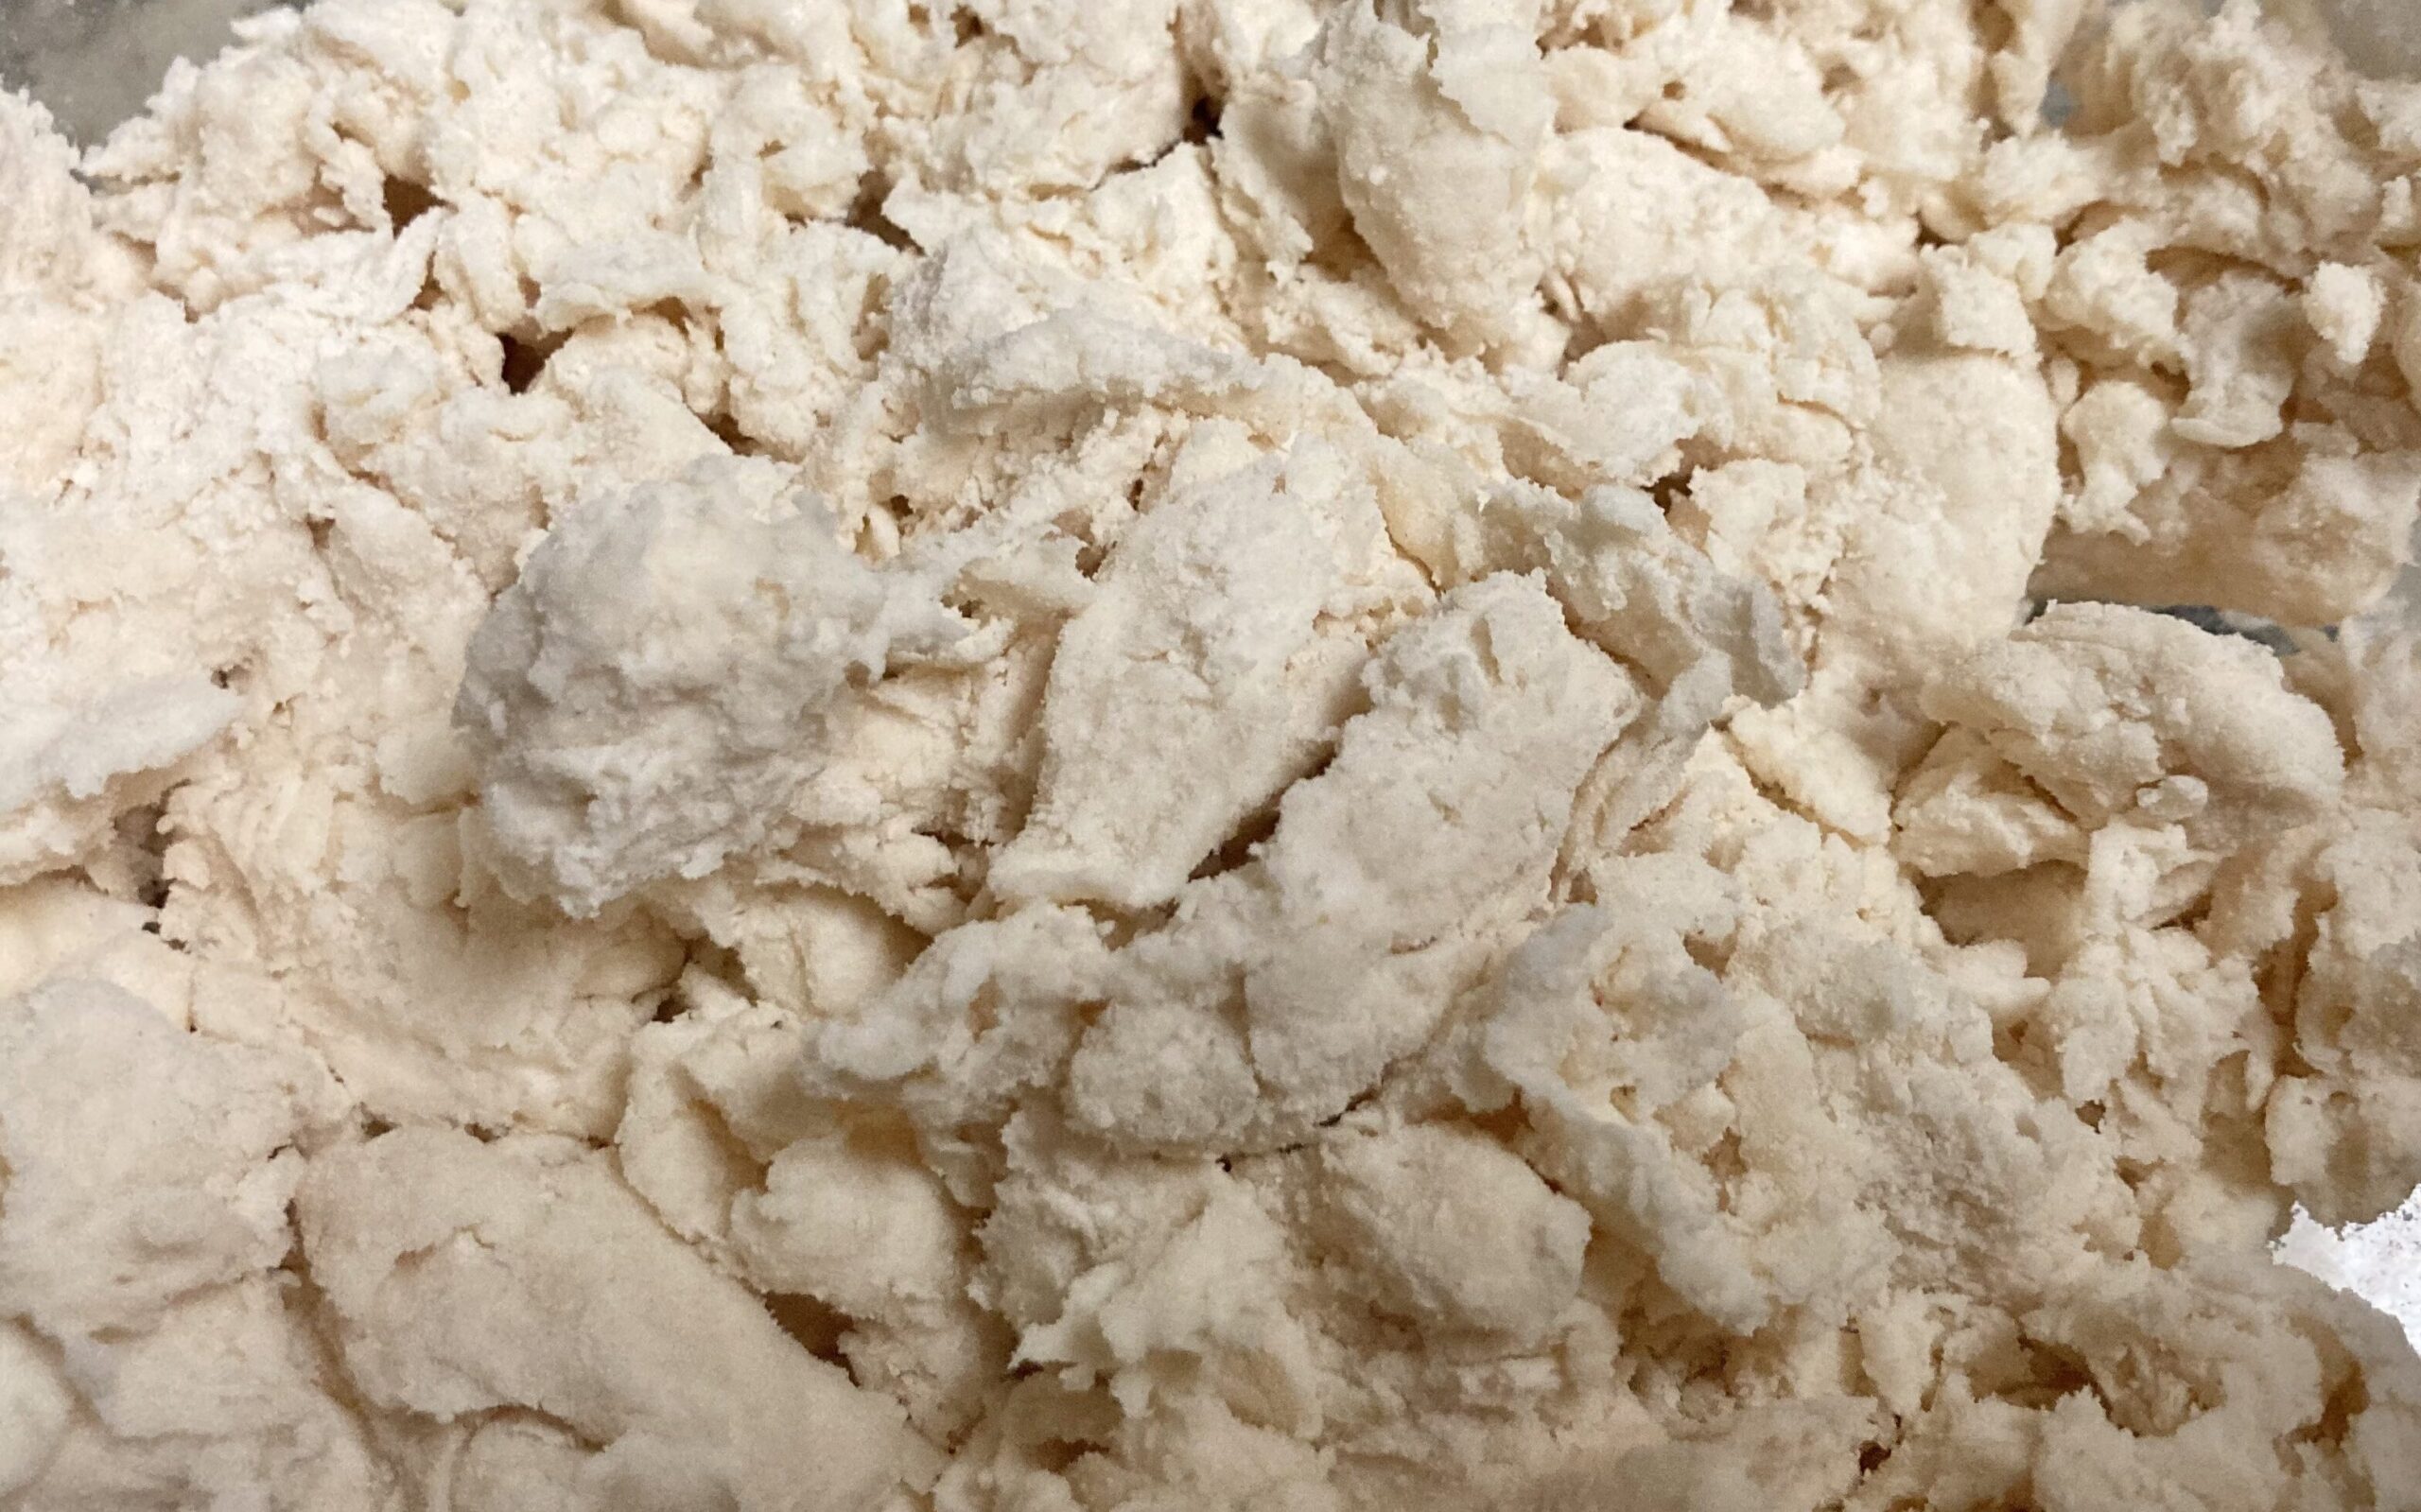
For the crust I started with 210g of unbleached, all-purpose flour. The secret to a flakey crust is making sure that the mixture stays cold until it is placed into the oven. I put the flour in my mixing bowl and placed that bowl in the freezer for about 15 minutes to make sure that the bowl and flour was cool. I then added my 100g of butter. If you want to be a little crazy, you can add the whole stick (≈110g or ½ cup). I then used a metal spatula to cut the butter into the flour. The most important part is ensuring that the mixer stays cool. Cut the butter into the flour until all of the chunks are no bigger than about half a centimeter or a quarter of an inch. I then added the salt and sugar. This can be added before the butter; I had just forgotten. This is a good time to place the bowl back into the fridge or freezer to ensure that everything stays chilly. I finally added the ice water and continued cutting the mixture with the spatula until it was mostly mixed. Then, back into the fridge! At this point, everything should look shredded. After cooling again, flour your surfaces and then use a rolling pin to combine the dough into a solid shape. It does not and should not be perfect. Again, place it in the refrigerator and begin the filling.
By the time that you have made the dough for the crust, the potatoes should be cool enough to handle. Place measured sweet potato into your mixing bowl. Add brown sugar, coconut milk, vanilla extract, pie spice, and salt.
For the caramel you can use premade caramel or substitute it like I mentioned above. I melted the sugar in a small pot. Sugar goes from solid to burned very quickly, so a low stove temperature and full focus is required. As soon as the sugar is melted, slowly add the coconut milk and stir. It will bubble and clump temporarily. Let the mixture warm up between each addition. Once all of the coconut milk is added, heat and stir until a smooth consistency is reached. Let it cool for a few minutes and you’re done! I would recommend that you taste it before you add it to your filling to make sure that it is not burned, then add it!
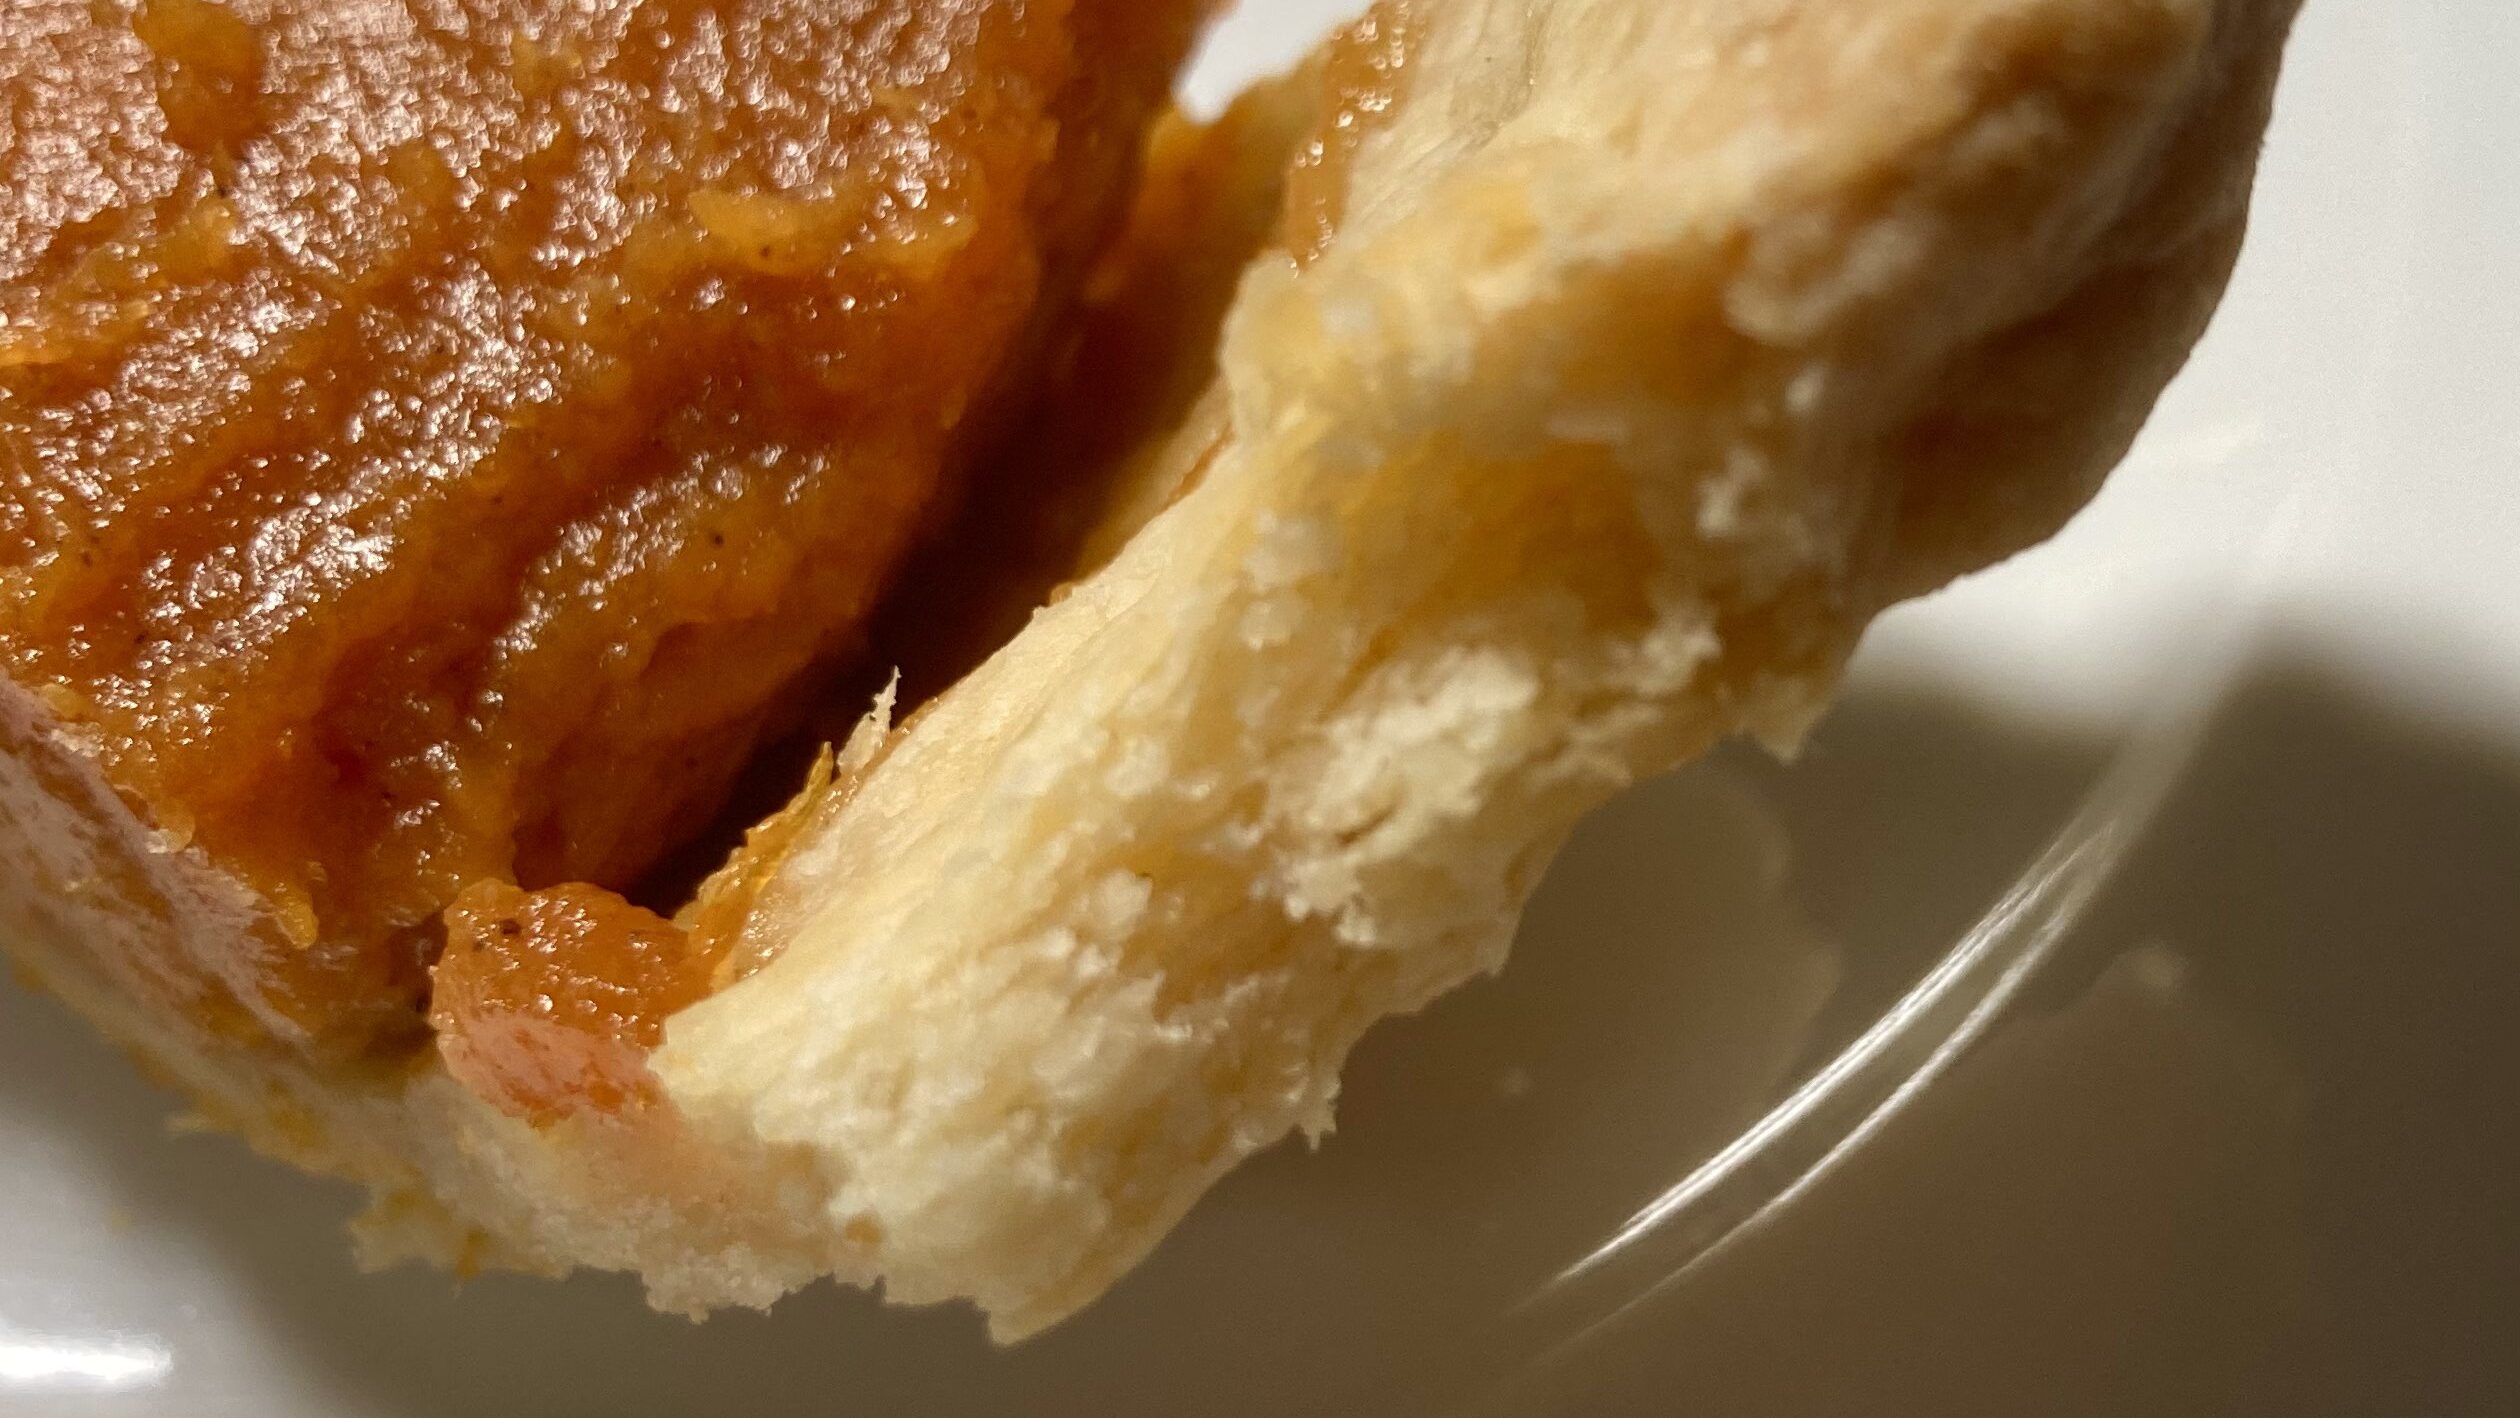
Roll out your cool dough as circular and uniform as you can make it. Flour is your friend here! When compared to your pie glass, the final diameter of the rolled dough should be about an inch out on each side. Although we want to achieve an even circle, continue to focus on keeping the dough cool. Once rolled, place the dough in the baking glass. The trick here is to roll the dough around your rolling pin and unroll it onto the glass. Fold, pinch, or shape the crust edge however you like. Remember, we are trying to keep it cool, so the less contact time with your warm hands, the better. I was not done with the filling at this point, so I placed the hollow crust back into the fridge to cool once more.
The filling only needs to be gently mixed by hand. Since I was not relying on egg to bind the mixture, the natural texture of the potato is beneficial to giving structure. Any electric mixing or blending might produce a slightly looser filling texture. The filling should be fairly thick. Remember, I did not use egg or cornstarch to bind my filling, so too much liquid will result in a loose pie. If you would like to bulk up the filling, 100g of milk and 10 g of cornstarch can be added. This will create a smoother, more liquid filling. The cornstarch will then bind the filling as it cooks. I have not experimented with this addition. Play with this ratio and let me know how it turns out!
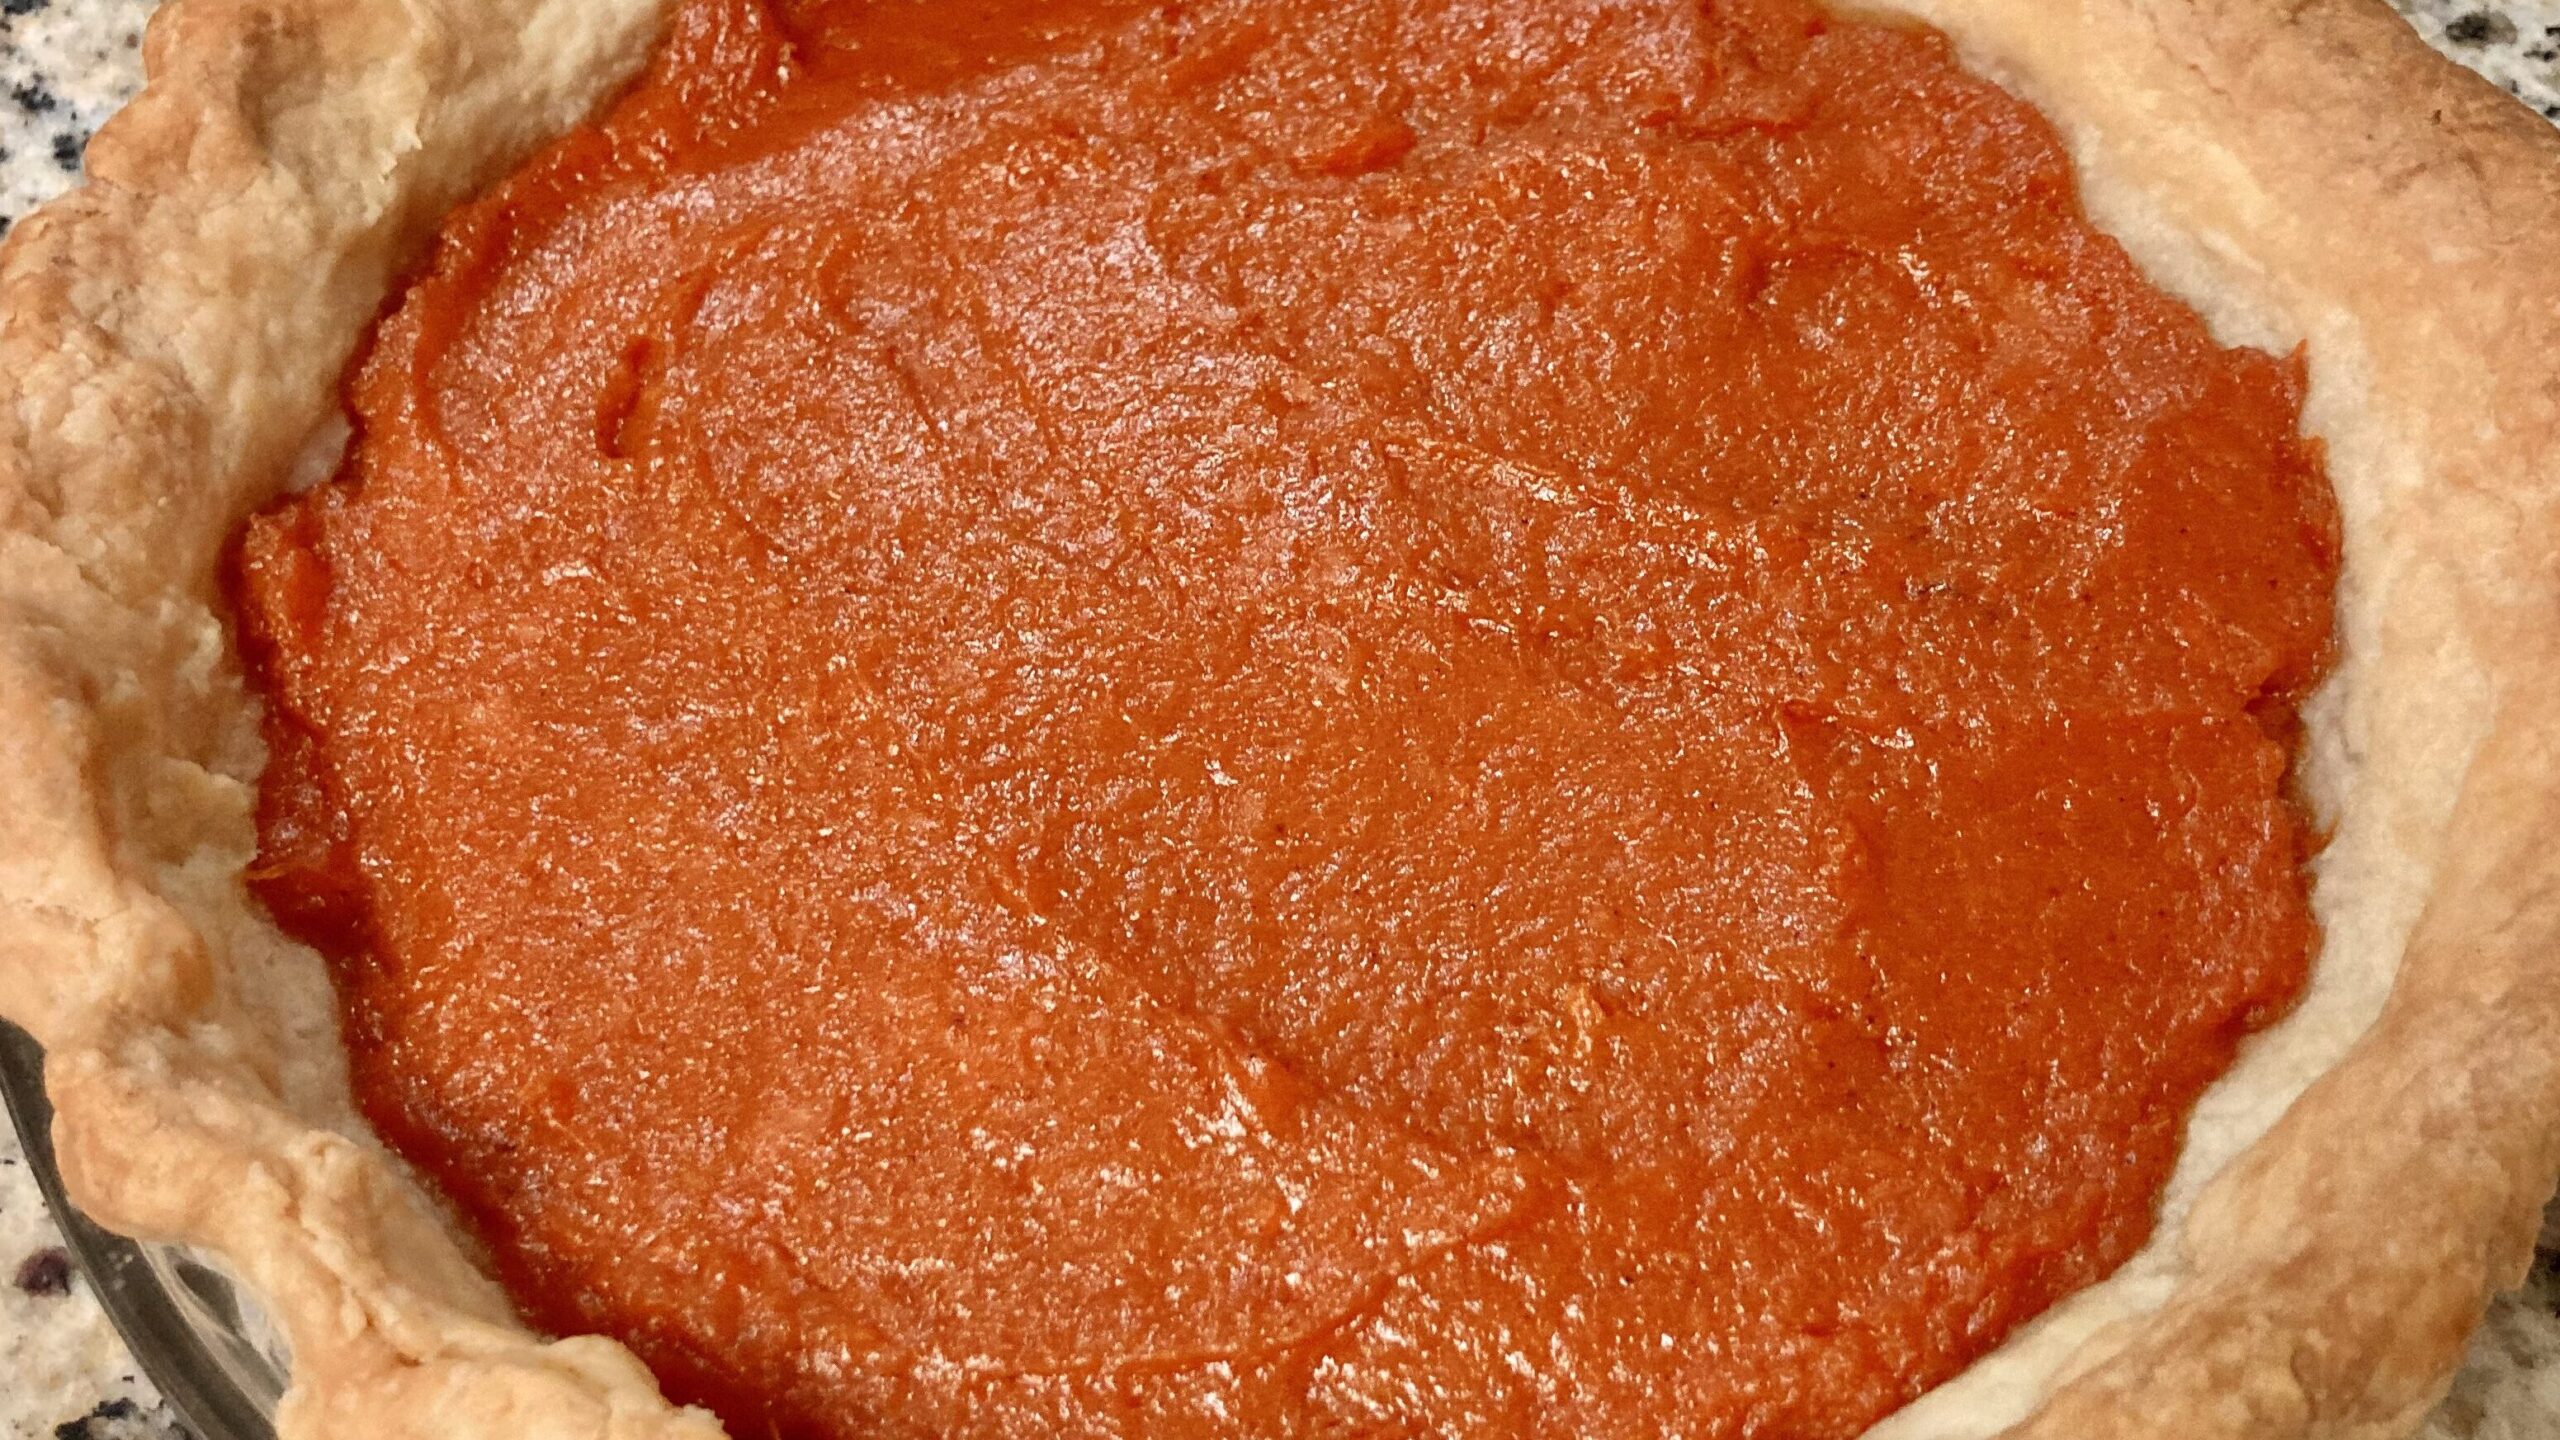
Finally, I put the filling into the pie crust. I roughly smoothed the top, and I placed the pie into the 350F oven.

Because I needed to share the oven with my roommate, I did increase the temperature halfway through cooking. My pie spent about an hour in the oven. Because of the variability of opening the oven and later increasing the temperature, I do not have an exact time. I recommend just watching for a lightly browned crust.
I did not have the time or the daily calories to try my pie that night. I let my pie cool in open air overnight. The pie can be left on the stove to cool overnight or in the fridge. Covering the warm pie could make the crust soggy from the trapped steam leaving the pie. We would not want all of that cooling to go to waste!
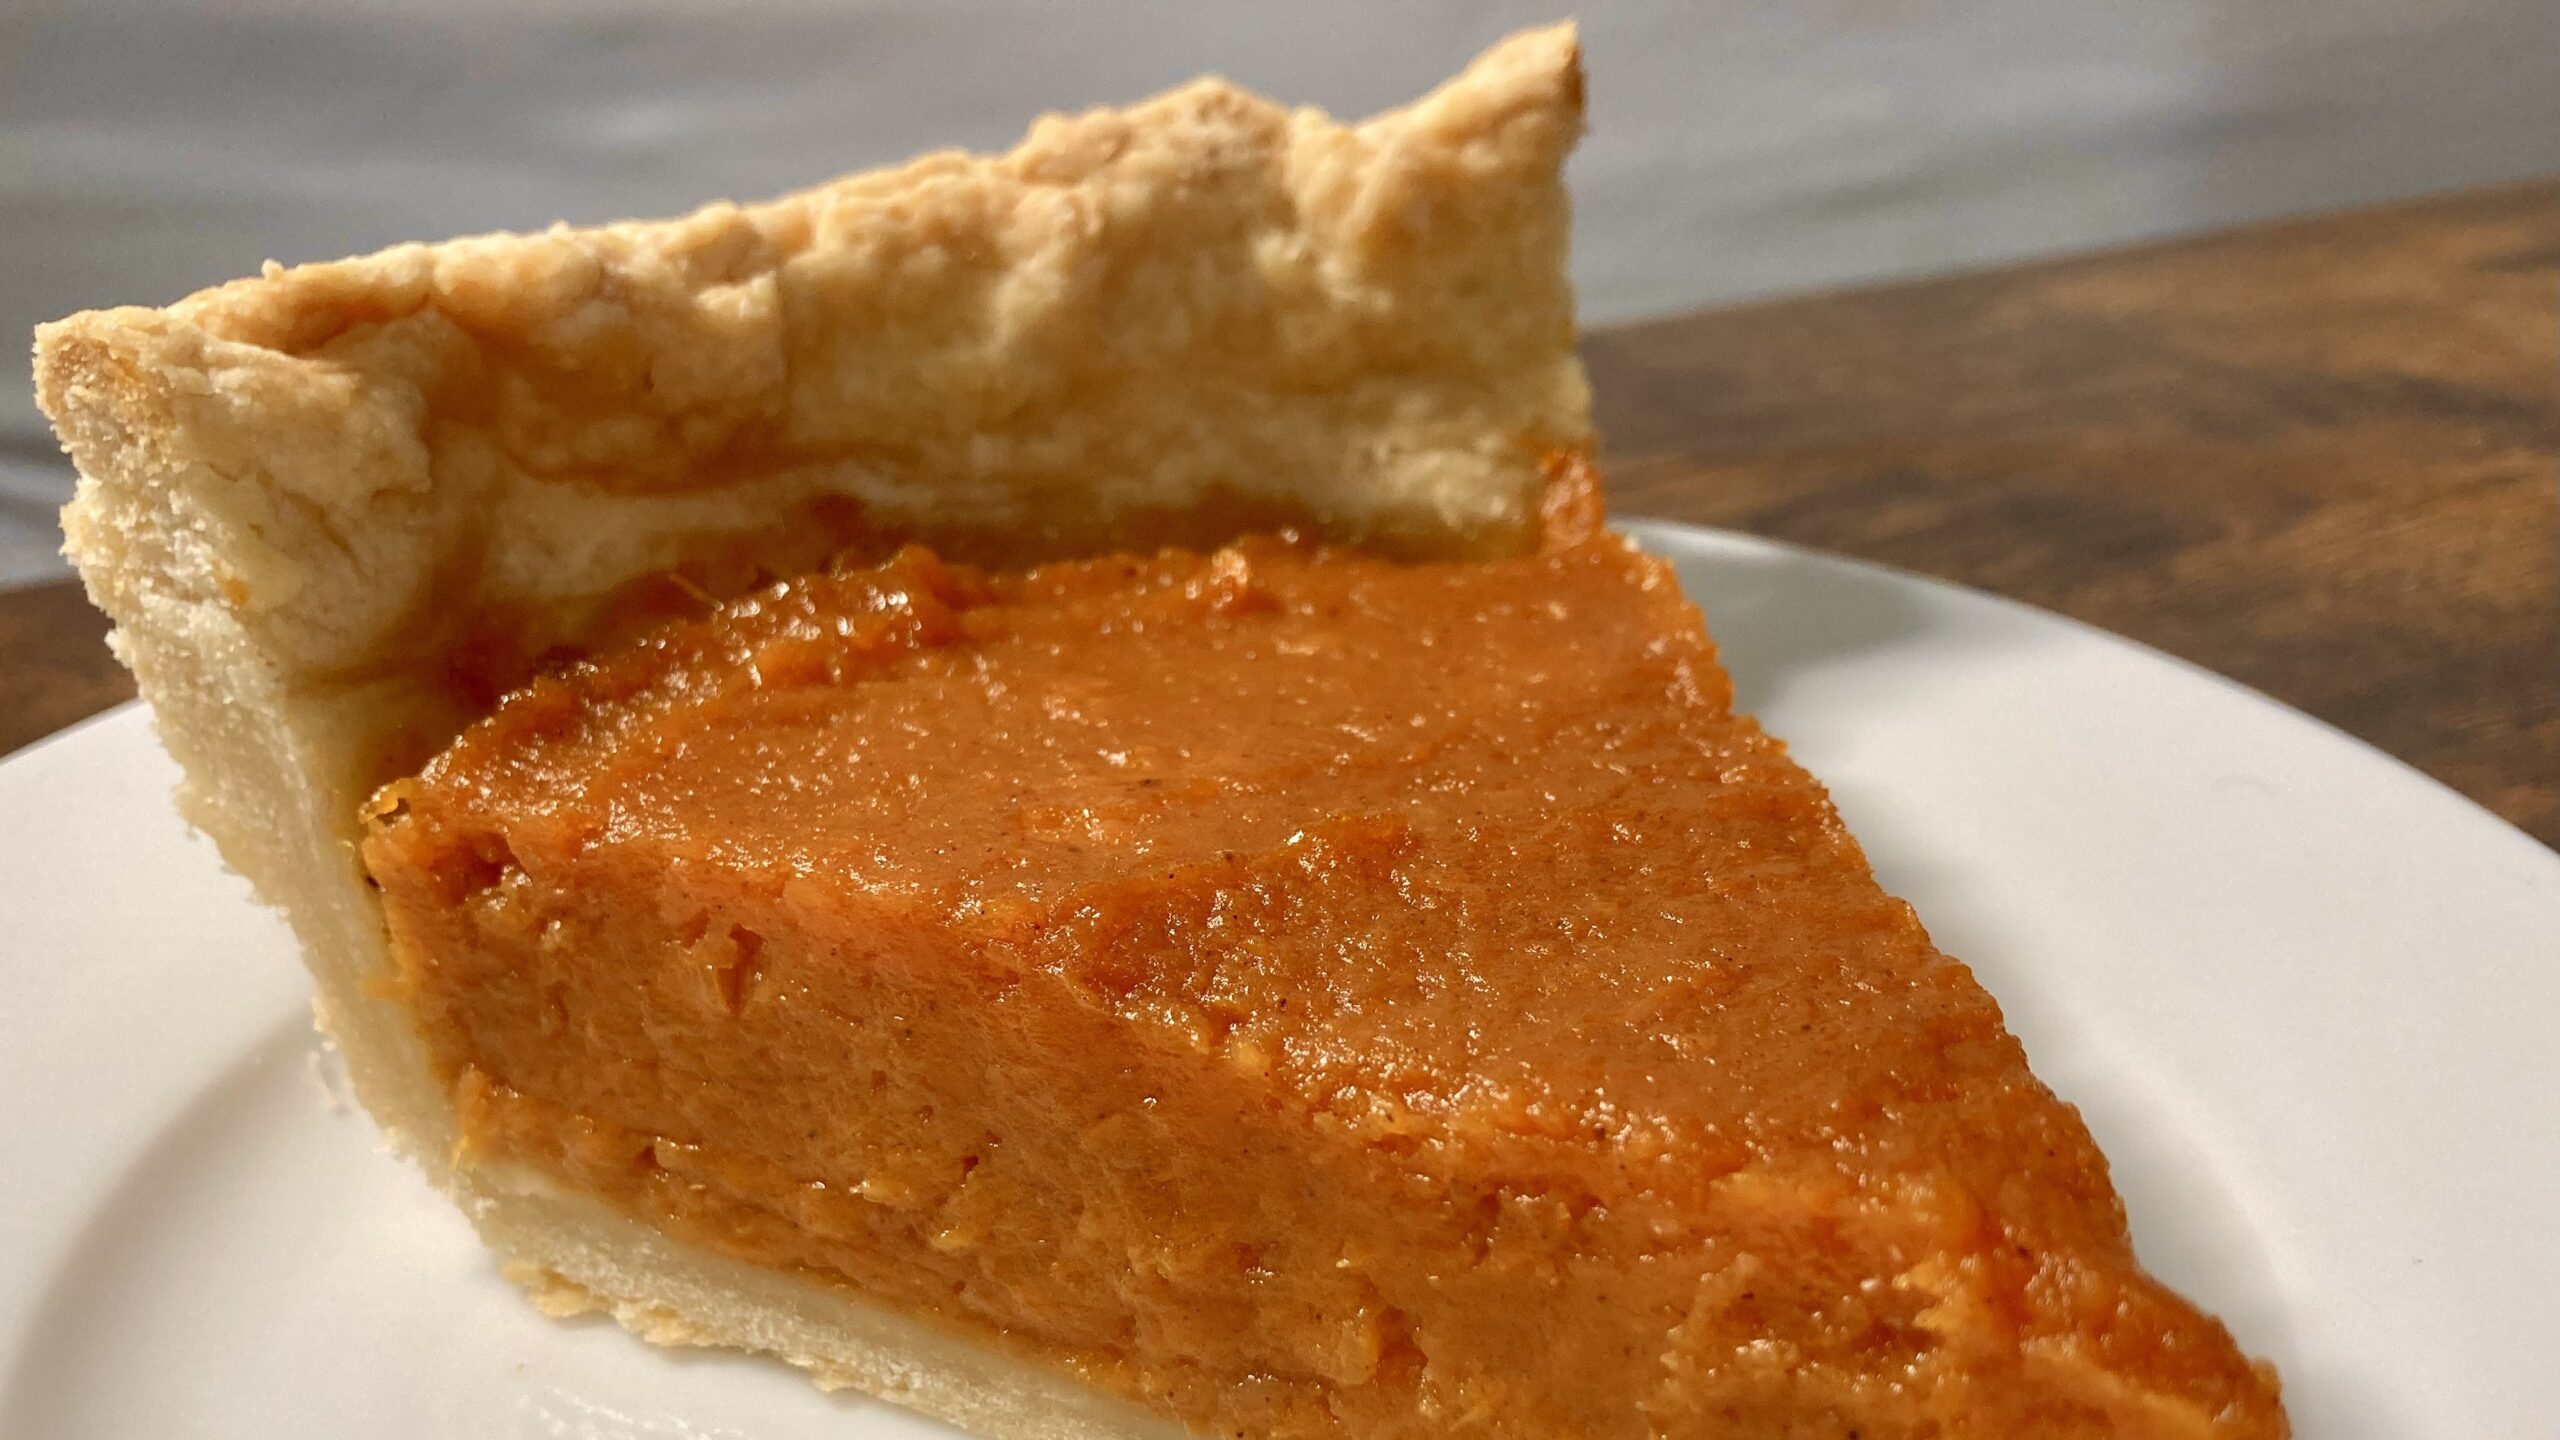
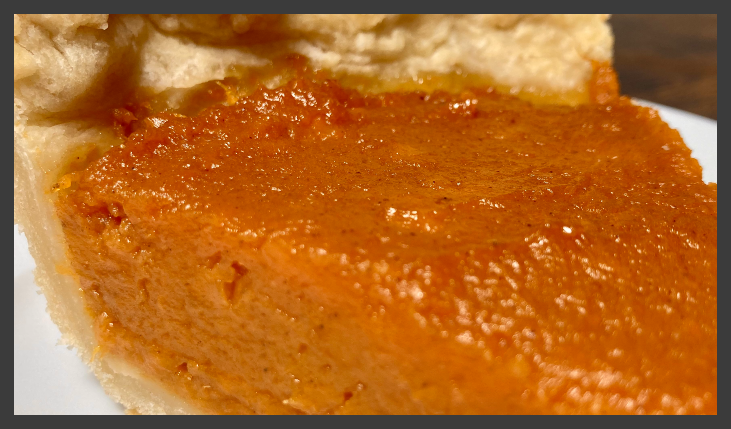
Calculating the calories from all the ingredients I used, the total pie is about 2630 calories. This makes for roughly 330 calorie ⅛ slices. The final weight of the pie (excluding the glass) was 990g. This makes the caloric density approximately 2.65 kcal/g: for every gram of pie there are about 2.65 calories. This is how I will calculate the calories of my slices. The 83g slice I had this morning was therefore calculated to be about 220 calories. The pie is not a homogeneous mixture, but the slices will be a mostly consistent ratio of filling to crust. Since I plan to remain consistent with my caloric intake, this method of calculation helps me.
I did not calculate the macros of this pie, but I can tell you that the ratio is high in carbs and fats and low in protein. You might reference what I have said in my “Calories” posts and the commentary of that podcast to better understand why I plan on moderating my consumption of this pie so strictly. I will be portioning and freezing most of this pie for later. I am excited to have this pie as a treat over the next few weeks!
That is all that I have for this week. I am glad that I got the opportunity to post about something different and fun this today. Try this recipe; it is simple and rewarding. If you make a substitution, let me know how it turns out. I might make this recipe again for the Christmas season. I will definitely be adding whipped cream and a salted caramel drizzle next time. I might also add some pecans! Next year, I will be adding egg, and I will update you on the results!
This has been Tristan from HQ. I hope your holiday season has started off sweet! I will catch you next week! Bye bye.
Citation
Williamson, Chris, director. #696 – Dr Gabrielle Lyon – How To Build More Muscle and Supercharge Your Longevity. Performance by Gabrielle Lyon, Spotify, 21 Oct. 2023, https://open.spotify.com/episode/2AN1M94ZZXjiQlrycF4CZo?si=b5ae3f19ad784c98. Accessed 23 Nov. 2023.